“Cooking with Dog”, is a Japanese on-line cooking show narrated by Francis, a miniature poodle. Just when you think Japan is weird enough, it gets weirder. However there are some great authentic Japanese dishes to watch how to make, if you can get over the absurdity of a dog sitting in the background and narrating.
Jun 28
What? Madras is not an authentic Indian curry
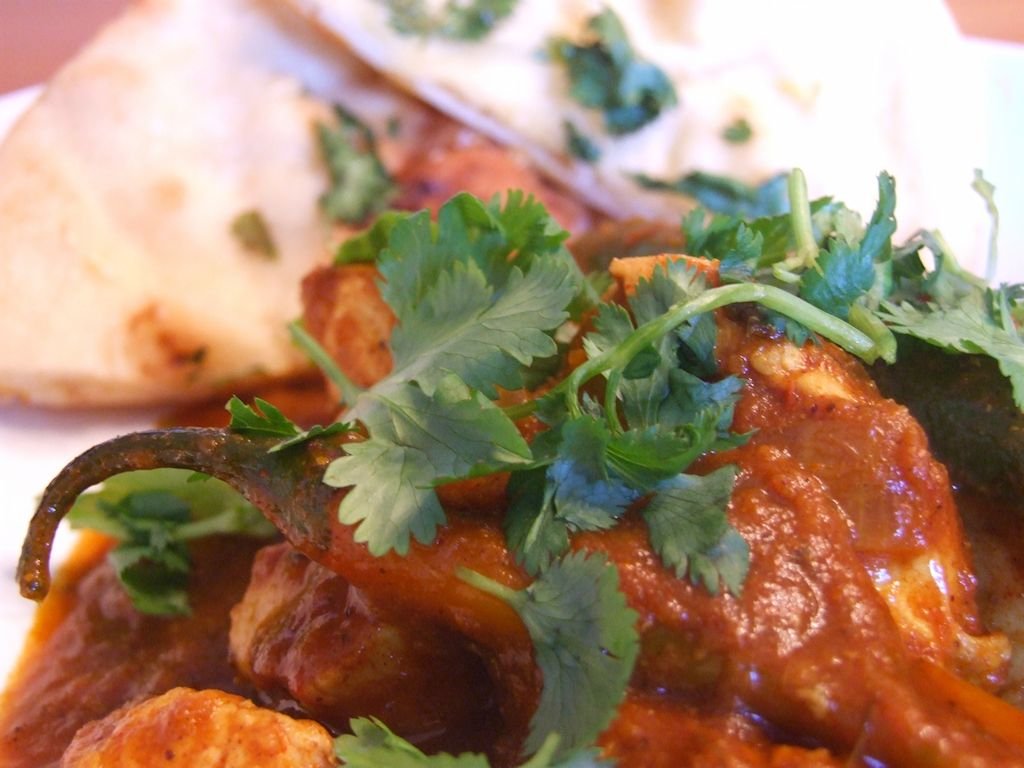
Madras is another example of a curry that is unknown in Indian. It gets its name from the city of Madras (now Chennai) in the South of Indian, but it was name used by the British from when they arrived in 1604, to describe all dishes in the region around the city. In his 1903 book “Curries and How to Prepare Them” by Joseph Edmunds, he optimised the ignorance of the British about the subtleties of Indian cuisine stating that “in India there are at least three separate classes of curry, the Bengal, the Madras and the Bombay.” and that Madras was simply just a spicy sauce for meat, made from a spoonful of curry powder, some onions and tomatoes which he described as “the high old curry made perfect.“Since there is no authentic version of Madras curry, most modern versions of the dish have been developed in British Indian Restaurants, but it is generally a medium hot, spicy curry with a dark red sauce, usually made from tomatoes. My version of Madras curry is developed by building on my BIR curry base sauce and adding typical Madras flavours. The result is as close to an Indian Restaurant style Madras curry that you can make at home. You could try beef or shrimp as an alternative to chicken.
British Indian Restaurant Style Madras Curry
Total time: 40 mins
Ingredients
- 4 medium chicken breasts, chopped into bite sized pieces and pre-cooked
- 1 medium onion, chopped
- 2 or 3 fresh chilli peppers (e.g serrano)
- 300ml (10 fl oz) of crushed tomatoes (e.g passata)
- a small handful of fresh coriander (cilantro) chopped as a garnish
- 1 tbsp of fresh ginger purée
- 1tbsp of garlic purée
- 3 tbsp of vegetable oil
- 500ml (1 pint) of BIR base gravy
- 1 tsp of salt
- 2 tbsp of hot chilli powder
- 1 tbsp of paprika
- 1 tbsp of ground cumin
- 1 tbsp of ground coriander
- 1 tbsp of fenugreek (methi) leaves
- 1 tbsp of garam masala
- 1 tsp of ground turmeric
- 1 tsp of whole cumin seeds
Method
If the chicken is not cooked, quickly fry it in a large skillet in a little oil over medium heat for about 8mins. In a seperate pan, gently heat the curry base sauce. In a skillet or frying pan, add the oil and gently fry the onions, until translucent. Add the garlic, ginger, peppers and the spices and gently cook for a minute or so to release the aromatics. Add the base sauce and the tomatoes and cook on medium for about 20 mins. Add the chicken and heat for about 5mins. Season with salt to taste. Serve over rice or naan bread.
Jun 28
Date Ice Cream, a Homemade Cooling Treat for the Summer Heat
I could have started off with something simple like Vanilla Ice Cream or even used the hand-picked peaches that we picked, sliced, bagged and froze a few weeks ago, but I was determined to make Date Ice Cream using the Date Crystals that I had purchased. I have never made homemade ice cream before and to the best of my memory, the last time I recall even seeing ice cream being made was probably thirty years ago when my parents made banana ice cream. I had no idea where to begin, but thankfully my friend Cecelia loaned me her Kitchen Aid Ice Cream Maker.
The process to make ice cream using the Kitchen Aid is actually very simple. The basic recipes provided in the instruction manual are easy to follow and with a little bit of adventure and curiosity you can make all difference varieties of ice cream flavors by following the basic ingredients and instructions. I used the basic ingredients and instructions provided by Kitchen Aid to make French Vanilla Ice Cream and from there made modifications.
Ingredients for Homemade Date Ice Cream:
- 3 Cups of Half-And-Half
- 8 Egg Yolks
- ½ Cup of Sugar
- 2 Cups of Whipping Cream (I used Heavy Whipping Cream by accident. Using Heavy Whipping Cream just made the ice cream that much richer.)
- 4 Teaspoons of Vanilla Extract (I would recommend using less when making Date Ice Cream)
- 1/8 Teaspoon of Salt (basically a pinch of Salt)
- 1 Cup of Date Crystals
Note: In lieu of Date Crystals, one could also use Date Paste, Date Jam and even pitted Dates that have been chopped, or some combination of all of these Date products. The most important thing to remember is to not use more then 1 – 1 ½ equivalent cups of sugar when using the Dates. Dates are 80% sugar.
Example: Instead of using the above mentioned amounts of Sugar and Date Crystals, you could use ½ Cup of Date Crystals and 1 Cup of pitted Dates that have been chopped to the desired size.
Preparation:
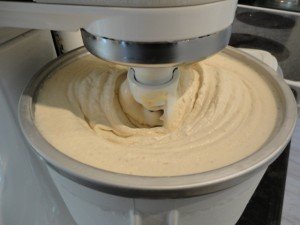
Follow the instructions provided by Kitchen Aid to prepare the ice cream mixture. Add the Date Crystals to the ice cream mixture once the Whipping Cream has been added. Stir the entire mixture to ensure that the Date Crystals are equally distributed throughout the mixture. Cover the bowl and place in the refrigerator for at least eight hours. Not only chilling the ice cream mixture is very important to assist the Kitchen Aid Ice Cream Maker in creating ice cream, but this time will allow for the Date Crystals to hydrate.
Once the ice cream mixture has been chilled, then continue to follow the instructions. There are two things that I have learned in making ice cream and sorbet with the Kitchen Aid Ice Cream Maker. First, whatever you do, have the churning paddle engaged and stirring before you pour in the mixture. If not, prepare for a big mess. Second, I really do wish Kitchen Aid would develop an overpriced attachment designed to pour liquid into the ice cream bowl easier.
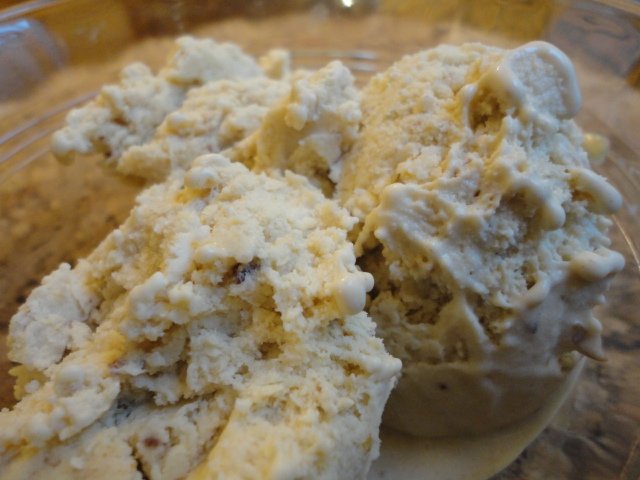
In twenty minutes your Date Ice Cream will have been transformed from a liquid into soft serve ice cream. You can either eat the ice cream then, or scoop the ice cream into air tight containers and allow the ice cream to harden in the freezer and be eaten later that day or some other time. Homemade Date Ice Cream is a wonderful flavor to make and the flavor of Dates is amazing, pairing well with the cream and egg yolks. The ice cream is rich and creamy with small specks of Dates in every bite.
Jun 27
Homemade Lemonade – Memories of summers gone by
I remember growing up in the UK in the 70s, before fizzy juice (pop, soda, etc) become popular, that my grandmother used to make homemade lemonade for us to drink in the summer holidays. Nowadays it has all just about been forgotten about with the availability of commercial sodas, and to some extent fruit squash. I have tried to re-create my grandmother’s home-made lemonade before, but something was always missing. My memories were of a refreshing, sweet and very ‘lemony’ drink. It wasn’t until recently when I managed to track down a recipe book that I knew everyone in Scotland had at one time, The SWRI (Scottish Women’s Rural Institute) Jubilee Cookery Book, that I found the missing ingredient, Cream of Tartar.
Cream of Tartar, or Potassium bitartrate is a derivative salt of tartaric acid. In the past when more people did their own baking it was a common ingredient to be found in most kitchen cupboards and it was used for such things as stabilizing egg whites, preventing syrups from crystallising and it is an ingredient baking powder to help activate it. Since it is acidic, I think this must have given a boost to the ‘lemoniness’ of my grandmother’s lemonade. I also think it must help to extract the juice from the lemons.
Though home-made lemonade has all but been forgotten about in the UK, it stills seems as though it is a popular drink in the US during the summer, especially on Memorial Day, the 4th of July and Labour Day holidays.
My Grandmother’s Homemade Lemonade
Ingredients
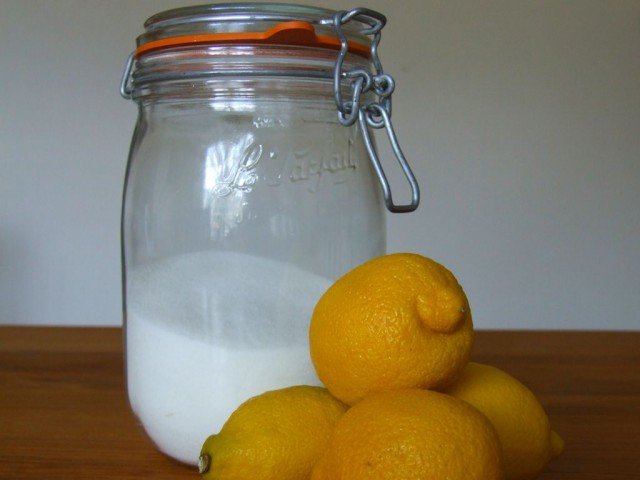
- 1lb (450g) of granulated sugar
- 1oz (30g) of cream of tartar
- 4 large lemons, thinly sliced
- 7pints (~3.5 litres) of fresh water
Method
Boil the water and add it to the sliced lemons. Stir in the cream of tartar and chill in the refrigerator for a day before serving.
Jun 27
The secret to making Restaurant Style Curry at home
For years I tried to re-create Indian restaurant curries at home, but they never quite tasted the same. Like most novice curry enthusiasts I started with pre-made curry powders, pastes and then moved onto making my own spice mixtures. I trawled endless curry recipe books, but I still wasn’t happy with my results. The curries tasted good, but they were underwhelming and didn’t match anything I tried in Indian restaurants. It wasn’t until I came to the US, and found that the Indian restaurants curries weren’t as good as back in the UK, that I re-doubled my efforts in trying to re-create BIR (British Indian Restaurant) style curries. After a lot of searching, I stumbled across an on-line discussion about re-creating BIR style curries at home and before long I had hit a goldmine of information.
The secret I have found to re-create the depth of flavour in British Indian Restaurant Style curries is a base (or gravy) created with carrots and a-lot of onions. This method of cooking doesn’t come from traditional Indian cooking, but was the result of high street restaurants trying to speed up the cooking process. Traditional Indian cooking is very time consuming and labour intensive, and the pre-cooked gravy was the restaurants answer to creating large batches to act as a base for many dishes that could be prepared quickly and easily such as madras, vindaloo, phall, dhansak, jalfrezi, korma, etc. Each restaurant will keep their ‘base’ gravy recipe a secret, but those recipes that have managed to break out into the world are extremely good.
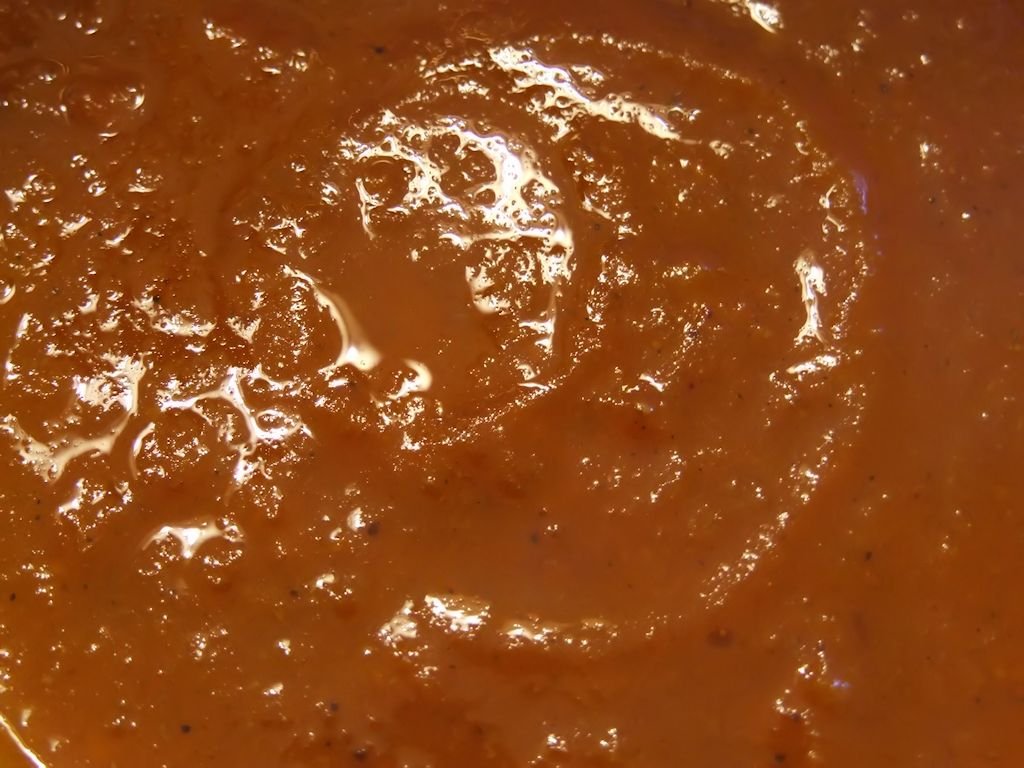
British Indian Restaurant Style Curry Base (or gravy)
Total time: 1 hour 20 min
Ingredients
- 8 medium onions, chopped
- 2 large carrots, chopped
- 1 large green bell pepper, chopped
- 2 sticks of celery, chopped
- 300ml (10 fl oz) of vegetable oil
- 1 tbsp fresh ginger purée
- 1 tbsp garlic purée
- 1 tbsp ground turmeric
- 1 tbsp garam masala
- 1 tbsp ground cumin
- 1 tbsp ground coriander
- 1 tbsp fenugreek leaves (kasuri methi)
- 1 tbsp salt
- 1.5 litres (50fl oz) of water
Method
In a large saucepan, add the oil and fry the onions until cooked. Add the garlic, ginger, turmeric, garam masala, fenugreek, coriander and cumin, and allow to fry for a minute or so to release the aromatics. Add the peppers, carrots, celery and salt, then cover with the water. Bring to a boil and then reduce to a simmer for approx. 1 hour, making sure all the vegetables are very soft. Liquidize the mixture with a hand blender or food processor. Re-add the mixture to the pan and cook for another 10 mins. Allow the gravy to cool and then pour into 500ml (pint) freezer bags. The curry base will keep for months in the freezer until needed.


