Date Crystals, A Versatile Natural Sweetener

Recently I wrote a post on trying a Date Shake from Shield’s Dates in Indio, CA and the additional purchases made of Dates, Date Jam and Date Crystals. There was no special reason for purchasing the Date Crystals for I had not tasted the Date Shake, but the idea of Date Crystals was intriguing enough that the purchase was made with no earthly idea on how I would use this product.

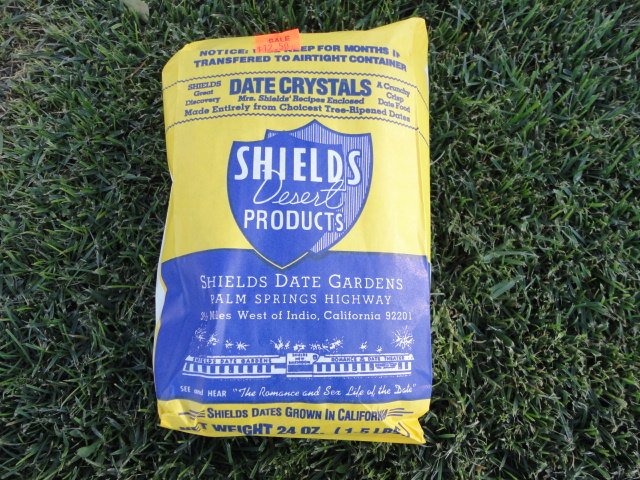
Shield's Date Crystals

Bag of Shield's Date Crystals

I brought the package of Date Crystals home with me and my wife gave me that knowing look of what are we going to do with this product. This was not the first and will definitely not be the last time that a food product caught my attention with no real clue on what I would make with the ingredient. Of course I could go on-line and read recipes for Date Crystals, just as I could actually read the suggested recipes included in the packaging, but that would take away from the fun of experimenting.

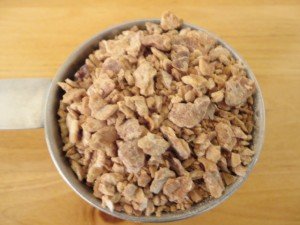
Date Crystals in a Measuring Cup

Date Crystals in a Measuring Cup

We opened the packaged and to my surprise, the “crystals” were not what I had expected. I was thinking more like brown sugar or turbinado, but instead the “crystals” were very small pieces of Dates that had been dried / desiccated. Although most of us are familiar with Dates and that they appear dried, they are technically are not dried, just ripe. Date Crystals are in fact small pieces (think oatmeal) of Dates that have been dried.

We tried the Date Crystals and they were of course hard and crunchy and you could taste the underlying sweetness. Our first experiment was to add them to plain yogurt. The result was more an experience of contrasting textures versus any real infusion of date flavor into the yogurt. The second, third, fourth and fifth use (are you seeing a trend?) of Date Crystals in Yogurt was to mix varying amounts of the crystals into the yogurt and allow the mixture to rest for an hour or more. The outcome was that the crystals hydrated and the yogurt was now speckled with little soft dots of dates providing a very nice flavor. I have also made Homemade Date Ice Cream and the result was pure decadence.

The package of Date Crystals includes recipes and there are also recipes available on-line. Date Crystals have a high sugar content and in my opinion can be treated in the same fashion as honey as a substitute for refined white sugar when color is not an issue. In time, I will probably try the recipes available, but for the moment, I am happy experimenting and discovering / rediscovering uses for Date Crystals.

If you do not have the opportunity to stop by Shields Date Gardens in Indio, CA, you can always order Date Crystals on-line from their website. In addition to the Date Crystals, there any many other fine Date products available for purchase.

 

S’Mores for July 4th!

With the Summer Barbeque Season in high gear, how can any forget the fun we as children had when the adults allowed us to toast marshmallows over the cooling embers of the charcoal grill? Maybe the times have changed, but there is still fun to be had making S’mores whether with a charcoal grill or with some ingenuity a propane grill (indirect heat to offset the possibility of including a propane smell to the marshmallow). Including S’mores, that perfect combination of melting marshmallow, milk chocolate and graham crackers in your menu for the July 4th Party is a perfect way to please any child and bring the child out in every adult. The following link provides a brief history and how to construct the perfect S’Mores.

Smore

S’more, the Perfect Dessert for Children and Adults at a Summer Barbeque

Chicken Tikka Masala – Britains Unoffical National Dish

The most popular curry in Britain is Chicken Tikka Masala, and though it sounds like an Indian dish, it is most likely a modern invention. Like most food history there are always arguments and disputes over the exact origin of dishes, and Chicken Tikka Masala is no different. The dish is similar to Murgh Makhani (Butter Chicken) from the Pungab, India, but it most likely that Chicken Tikka Masala was created by Ali Ahmed Aslam at the Shish Mahal, restaurant in Glasgow, Scotland after a diner complained about the dryness of a chicken dish. An improvised dish was quickly prepared using various spices and a tin of Campbell’s condensed tomato soup. Lizzie Collingham’s book: Curry – A Tale of Cooks and Conquerors goes into a lot more detail about the various claims of the origin of Chicken Tikka Masala as well as the history of curry in general.

Though nowadays there are many recipes for Chicken Tikka Masala, they are all very similar. The dish is a very mild, creamy curry made with yoghurt marinaded chicken pieces (Tikka) cooked in a tandoor oven or grill, in a mildly spiced, creamy, tomato sauce (Masala). This recipe is developed from the best that I have found, and certainly will beat anything that you can find on the supermarket shelves.

Chicken Tikka Masala Recipe

Ingredients

    • 1 large, or 2 small chicken breasts, cut into bite sized pieces
    • 1 medium onion, sliced thinly
    • 1 tbsp of oil
    • small handful of fresh coriander (cilantro), chopped as a garnish
  • Chicken Tikka Marinade Ingredients

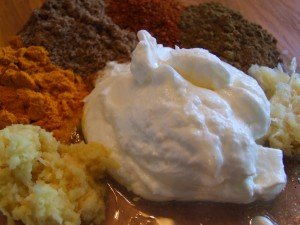
    Chicken Tikka Marinade Ingredients

    Marinade

    • 3 tbsp of natural yoghurt
    • 1 tsp of chilli powder
    • 1 tsp of ground turmeric
    • 1 tsp of ground cumin
    • 1 tsp of ground coriander
    • 1 tsp of lemon juice
    • 1 tsp of garlic purée
    • 1 tsp of fresh ginger purée
    • 0.5 tsp of salt


  • Masala Ingredients

    Masala Ingredients

    Masala paste

    • 1 tsp of garlic purée
    • 1 tsp of fresh ginger purée
    • 1 tsp of chilli powder
    • 1 tsp of ground coriander
    • 1 tsp of ground cumin
    • 4 tbsp of tomato purée (paste)
    • 3 tbsp of single cream (table cream)


Method

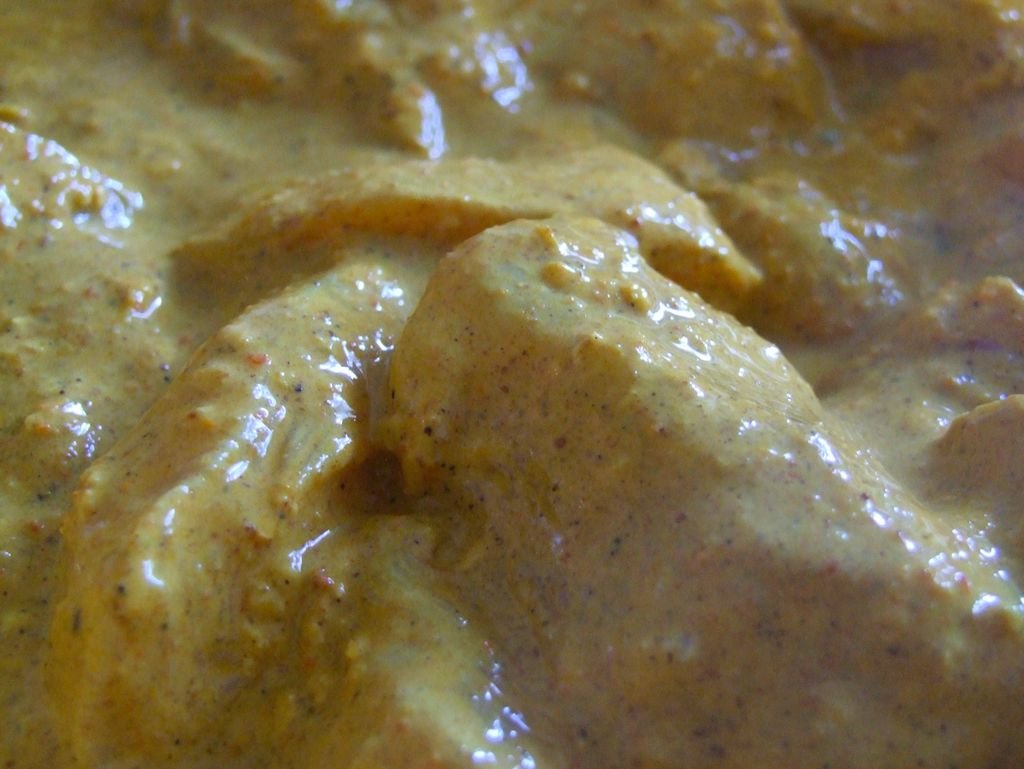
  1. Mix together the marinade ingredients. Add the chicken and mix to coat thoroughly. Cover and leave in a refrigerator for at least 4 hours or overnight if possible.

    Chicken Tikka Marinading

    Chicken Tikka Marinading

  2. Remove the chicken from the marinade and either skewer the chicken onto bamboo skewers and grill (broiler) under medium heat for about 10mins or cook in a medium skillet for about 8mins.
  3. In large wide pan or skillet, add the oil and gently fry the onions, until translucent.
  4. Add the garlic, ginger and the spices and gently cook for a minute or so to release the aromatics.
  5. Add the tomato paste, the cooked chicken, the cream and mix to combine. Season with salt if required
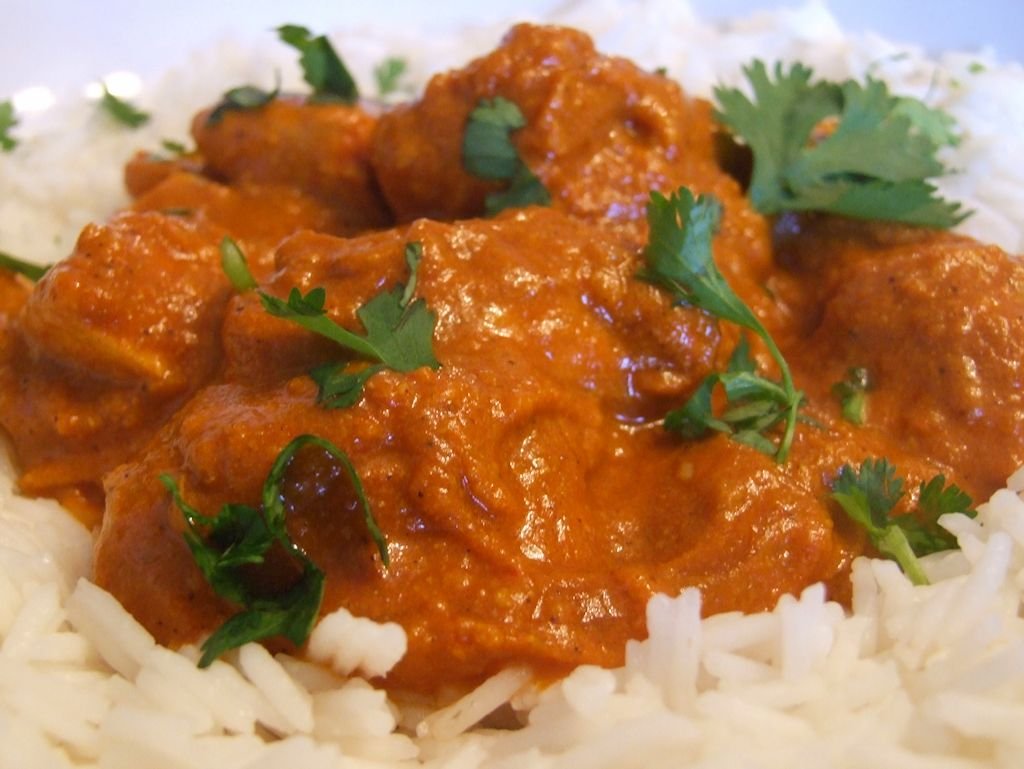
  6. Serve over rice and garnish with a little chopped coriander (cilantro).

    Chicken Tikka Masala

    Chicken Tikka Masala

Curry – A truly British Dish

There are many dishes from many cuisines that nowadays are called curry, but the word ‘curry‘ is derived from the Tamil word ‘kari’, meaning a spiced dish of sautéed vegetables and meat. Members of the British East India company who traded with Tamil merchants came to enjoy their particular blend of spices called ‘kari pod’, which in turn, came to be known as ‘curry powder’ and from this introduction to the English language, other dishes throughout the world, that were heavily spiced (by British standards) came to be known as ‘curries’. However ,it is very rare for the word ‘curry’ to be used in India, as the dishes are called by their specific names, such as Rogan Josh, Vindaloo, Korma, etc.

To this day, Britains still have a love for curry like no other country outside of the Indian subcontinent, partly due to the partition of India, when many immigrants came to Britain and opened up Indian restaurants. The food that they brought with them and developed provided a new and exotic alternative to standard British fare. So much so that Chicken Tikka Masala is now regarded as the British national dish, illustrating the way that Britain absorbs and adapts external influences.

The dishes found in British Indian restaurants today would be unrecognisable and alien to people from the Indian subcontinent, in that typical Indian street food such as poppadums, samosas, pakoras, etc are served as appetizers, Dahl is served as a soup instead of as part of a meal, the Western idea of separate courses and the amount of meat in cooked in the dishes. Thus a new and separate cuisine has developed from Indian Subcontinent cuisines, known as the British Indian Restaurant Curry (B.I.R.) and can now be found in various large cities throughout the world. However the British love for extra hot and spicy curries tends not to travel, and BIR style restaurants tend to ‘tone’ down the curries in other countries.

British Indian Restaurant Curry

British Indian Restaurant Curries

Typical Dishes in a British Indian Style Restaurant

  • Korma – A mildly spiced. creamy curry usually containing nuts such as almonds, coconut or cashews.
  • Jalfrezi – A medium hot curry with a tomato, onion base with plenty of chili peppers.
  • Roghan Josh – A spicy, aromatic lamb dish from Kashmir
  • Tikka Masala – Britain’s National Dish made from chicken marinated in yoghurt, cooked in a tandoor and then covered in a creamy tomato curry sauce
  • Balti – Pakistani inspired cooking developed in Birmingham, UK. Served in a small wok style dish called a balti bowls.
  • Tandoori – Dishes cooked in a Tandoor oven, which create a grilled flavour
  • MadrasA medium spicy hot curry
  • Vindaloo – A very hot curry with potatoes from Goa.
  • Phall – Usually the hottest curry on a menu. Typically made from a tomato base with ginger, fennel seeds and a lot of chili peppers
  • Dahl – A spicy dish made from either lentils, peas or beans
  • Naan Bread – A flat bread eaten as an accompaniment to curry. It is created with yoghurt, brushed with ghee and cooked in a tandoor oven. Typically served plain, or with garlic and coriander (cilantro), keema (stuffed with minced meat) or Peshawari (stuffed with nuts and raisins).
  • Pilau rice – A colourful, basmati rice accompaniment to curry.
  • Poppadoms – Fried gram flour ‘crackers’ served as a starter with various chutneys or relishes such as mango chutney, lime pickle, riata, etc
  • Pakoras or bhajis – A spiced gram flour fritter, made from vegetables such as onions, spinach, etc. Usually served as an appetizer.


Homemade Peach Liqueur, Capturing the Essence of Summer

Fresh picked peaches are one of the finest fruits to be enjoyed. Once you have had filled your craving of fresh peaches, having made peach jam, sorbet, ice cream and even baked a dessert or two, what else can you do with the extra peaches? How does one capture the essence of a perfectly sun ripened, juicy, chin dripping peach? For me, a person fascinated with making homemade liqueurs, creating homemade peach liqueur was the answer.

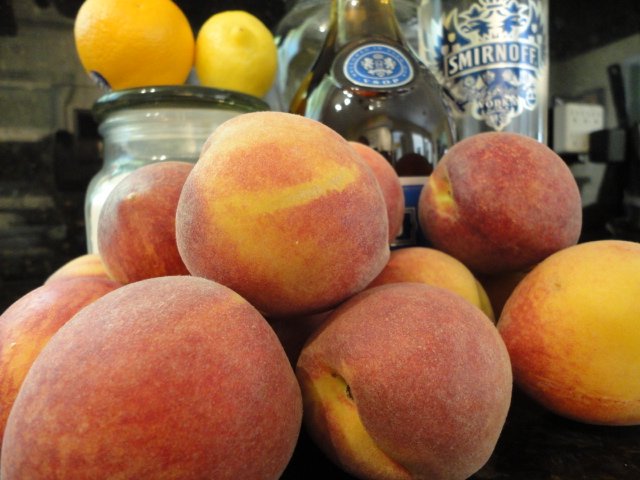
Ingredients for Homemade Peach Liqueur

Ingredients for Homemade Peach Liqueur

The effort to make homemade liqueurs is not difficult, but the behind the scenes chemistry that occurs in the sealed glass container when all of the ingredients mixed together does require patience. Thankfully this past month I have been extremely busy with work and have not had time to hover over the homemade peach liqueur that has been steeping in the closet.

As mentioned, the process to transform fresh peaches into a liqueur is easy, requiring the following steps: Prepare, Steep, Separate, Decant, Bottling and Time (Patience).

Ingredients:

  • 2 Cups of Sugar
  • 2 Cups of Water
  • 4 Pounds of Fresh Washed Peaches
  • 2 Teaspoons of Lemon Zest
  • 2 Teaspoons of Orange Zest
  • 3 Cups of 80 – 100 Proof Vodka
  • 2 Cups of Brandy (If Brandy is not desired, then replace this ingredient with the same volume of Vodka)
  • 8 Drops of Yellow Food Coloring
  • 1 Tablespoon of Fruit Protector Powder

This recipe can easily be cut in half or even doubled depending on your desire, amount of peaches or the size of the glass container available.

Prepare: In a small pan, combine the water and sugar and heat on Medium-High, stirring regularly to prevent the sugar from burning until the sugar has dissolved. Allow the syrup to cool.

A Bowl of Fresh Sliced Peaches

Fresh Peaches Washed and Sliced

Remove the stems from the peaches, cut in half, remove the stone and then thinly slice the peach halves. If you have difficulty in removing the stone or the peach halves do not slice easily, do not worry. The effort does not have to result in perfectly sliced peaches. Ultimately, the purpose is to maximize the total surface area of the peach flesh to be exposed to the alcohol.

In a large glass container that has been thoroughly cleaned, add the sliced peaches, peach stones (optional, but does provide a hint of almond flavor), lemon zest, orange zest, yellow food coloring, syrup, fruit protector powder, vodka and brandy.

Seal the glass container, thoroughly shaking the contents so that it is well mixed.

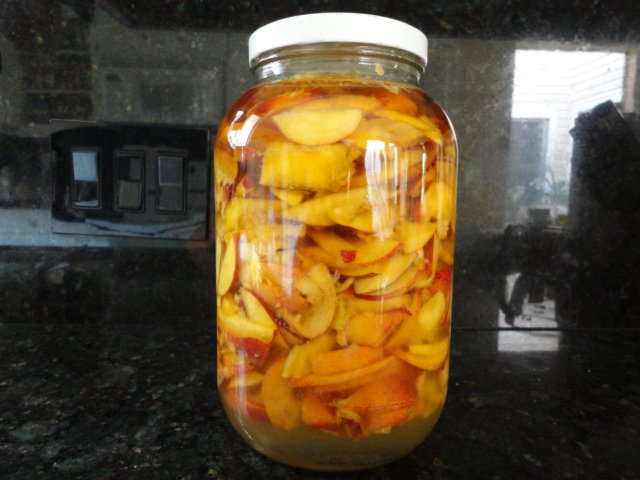
Steeping of Peaches for Homemade Liqueur for 2 - 4 Weeks

Homemade Peach Liqueur Beginning to Steep (2 – 4 Weeks Required)

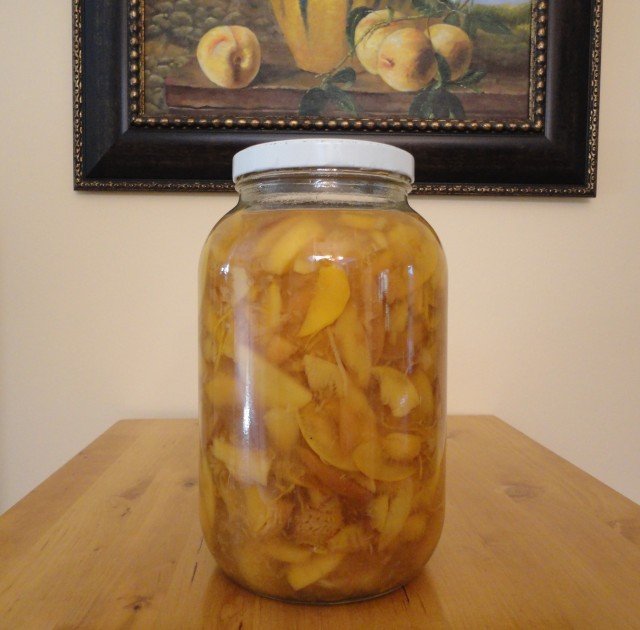
Steep: Store the glass container in a cool dark location (back of a closet) for 2 – 4 weeks. This period of time allows for a portion of the alcohol to replace the juices in the peach flesh through the process of osmosis. You may want to shake the contents of the glass container once a week to maximize the extraction of the peach flavor. Do not be concerned if the top layer of sliced peaches turns a little brown. The browning is due to being exposed to air. Between the fruit preserving powder and the alcohol, there are no side effects.

Homemade Peach Liqueur that has been Steeping for 4 Weeks

Homemade Peach Liqueur that has Steeped for 4 Weeks

Separate: Pour the contents of the glass jar through a wire mesh strainer to separate the sliced peaches, stones and the citrus zest into a glass bowl. To extract as much of the alcohol that has been infused into the peaches, then with a wooden spoon, mash the peaches against the wire mesh strainer.

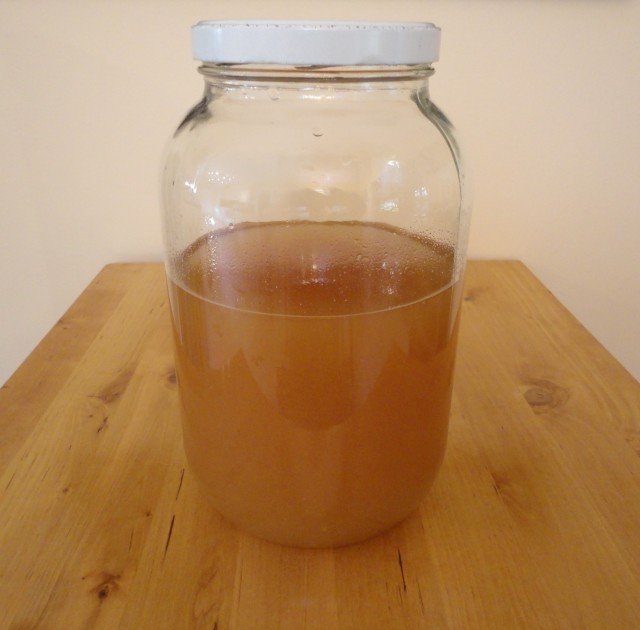
Once you have strained the peaches then pour the peach liqueur contents back into the original glass container that you have washed and cleaned. Seal the container and store in the back of the closet for another two to four weeks. This period of time will allow for the smaller solids to settle to the bottom of the container.

Strained Homemade Pomemade Peach Liqueur

Homemade Peach Liqueur Strained of Large Solids in a Glass Container (2-4 Additional Weeks of Resting Required Before Bottling)

Decant & Bottling: Given that the entire process to make homemade peach liqueur is a four to six week process, I felt it was important to post the first three steps now to provide instructions to those interested in making peach liqueur at home and have a supply of ripe peaches in which to use. I suggest coming back to this post in two to three weeks for the final set of instructions and pictures of the decanting and bottling of the peach liqueur.

How to make peach liqueur at home was loosely adopted from the book: Cordials from Your Kitchen by Pattie Vargas and Rich Gulling.