Compound Butter – The easy way to add flavor to a meal

Compound butter, or more commonly known as flavoured butter is a really easy and cheap way to add flavour to a dish without the effort of making a sauce. You’ve probably seen it most often on top of a steak in a restaurant, melting slowly adding a little zing of flavour to the meat. The other common use for compound butter is in garlic bread where butter is mixed with fresh chopped garlic, and sometimes herbs to make garlic butter also known as beurre à la bourguignonne in French cooking. Though sometimes you can buy compound butters in larger supermarkets, it is very easy to make at home and it can be made in advance and kept for a long time in either the fridge or even the freezer.

Bacon wrapped filet steak with black truffle butter

Bacon wrapped filet steak with black truffle butter

Once you start experimenting with different flavors, you’ll wonder how you ever used to manage without this amazing kitchen secret ingredient. Obviously different flavored butter recipes are required for different dishes, but since they are so easy to make you can have many different ones prepared in advance in your freezer, ready to chop off a slice to add before serving. As well as a great way to boost the flavour of steak, chicken, turkey, fish, barbeque, potatoes, seafood, bread, corn, vegetables, popcorn, etc, you could also make sweet flavored butters for the top of breakfast pancakes, or to finish off a sauce by adding flavor and to help thicken it.

Sliced frozen compound butter

Sliced frozen compound butter

Tips on how to make compound butter

  • It is best to use unsalted butter, because you can always add salt, but you can’t take it away. If you do end up using salted butter, you will have to be more careful about balancing the flavors.
  • Make sure that the butter is at room temperature.
  • Make sure that all of your other ingredients for the flavoured butter are at room temperature, e.g. roasted garlic, otherwise they can cause the butter to melt and split.
  • Add all your ingredients to a bowl and work together with a fork until combined or use a food processor to mix. However if you use a food processor, don’t run it for too long as it can break down the ingredients too much and the heat of the motor can start to melt the butter causing it to split.
  • Let the butter rest for about an hour before wrapping and putting it in the fridge or freezer as this will help the flavour of ingredients such as herbs to infuse through the butter. Dried herbs will need longer than fresh herbs to infuse their flavors.
  • I find wrapping the compound butter in plastic wrap and keeping it in the freezer is best as it keeps for longer, but it melts better on top of food when serving. However you can keep it in the fridge wrapped in parchment paper.
  • Using a food processor you can make a lighter, airier version of compound butter using whipped butter. First you whip the butter using the paddle blade, then beat the butter mixture until fluffy using the whisk, and then gently mix through your ingredients. Whipped compound butters should be used straight away as they don’t keep that long.
  • Compound butter is a great way to use very expensive ingredients e.g. truffle, to make them go further.
  • Some spices such as cumin, cardamom, coriander, etc only release their flavors when cooked. So if you use these spices in your compound butter, quickly cook them in a little butter, then cool before mixing.
  • Try making your own butter from cream for an even more amazing butter or clarified butter to help it last longer in the fridge.
Wrapped lemon and dill flavored butter

Wrapped lemon and dill flavored butter

Some Compound Butter Recipes and ideas

All these recipes will require 1 stick (1/2 cup or 115g) of unsalted butter, but you can easily double up as required.
Total time: 10 mins

To make your own compound butter think of what herbs, spices, cheeses, wine reductions, vegetables, fruit and stocks would go with your dish and experiment till you find the one you like best. Here are a few suggestions.

Garlic butter – Best with steak, for making garlic bread, vegetables, seafood and escargot (snails)

  • 4 cloves of crushed garlic
  • 1/2 tsp of salt

Rosemary and Garlic – Best with lamb or vegetables, but also good with seafood or bread

  • 1 roasted clove of garlic
  • 2 tsp fresh chopped rosemary
  • 1/2 tsp of salt and freshly ground black pepper

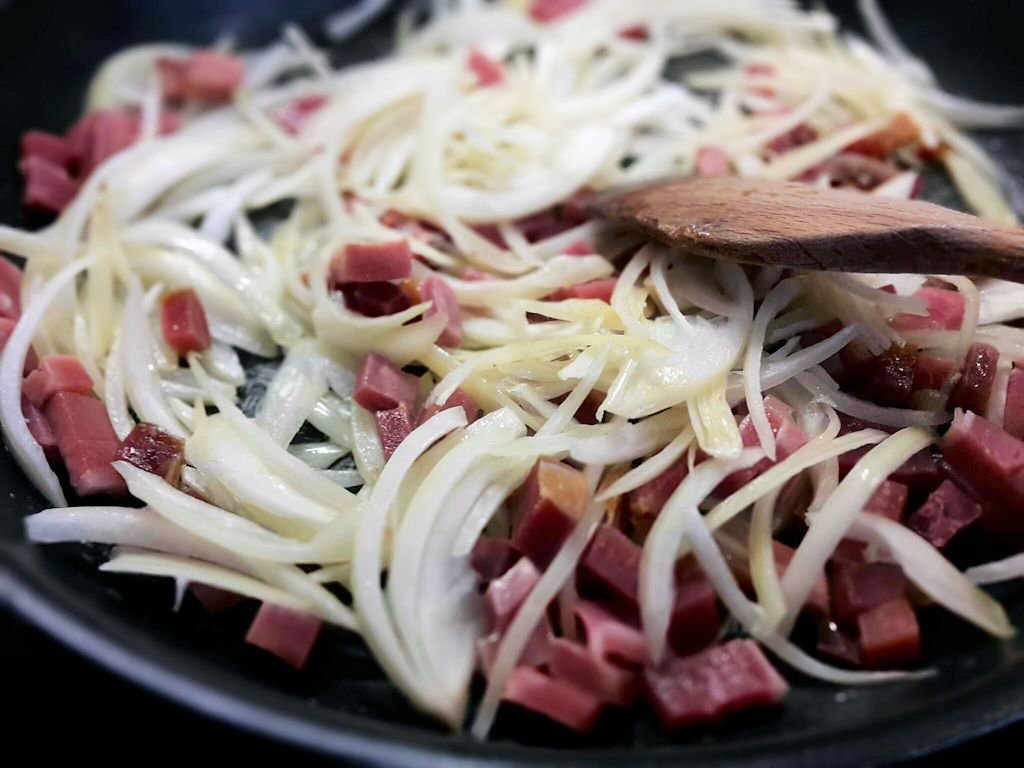
Bacon Chive Butter – Best with steak or baked potatoes

  • 1 tbsp fresh chives
  • 1 strip of cooked bacon crumbled into small pieces
  • 1 clove of minced garlic

Truffle butter – Best with steak, risotto and pasta dishes

  • 1 small black or white truffle (about 1/2oz or 15g) shaved very thinly
  • 1/2 tsp of salt

Cinnamon and vanilla butter – Best for breakfast on pancakes or toast

  • 2 tsp of sugar
  • 1 tsp of ground cinnamon
  • The seeds scraped from 1 vanilla bean or 1 teaspoon vanilla extract


Some other flavour combinations to experiment with

  • Parsley, sage, rosemary and thyme
  • Bacon and blue cheese
  • Sumac and mint
  • Basil pesto
  • Mustard and brandy
  • Chile, cilantro and lime
  • Bacon and Bourbon
  • Honey and Dijon mustard
  • Lemon and Dill
  • Red wine, shallots and parsley
  • Anchovies
  • Fig and maple syrup
  • Roasted red pepper
  • Basil, Parmesan and sun-dried tomato
  • Horseradish and chive
  • ……and the list goes on and on.

The Hasselback potato – The perfect cross between baked and roasted

I’ve mentioned before that it isn’t until you start researching a recipe (or technique) that you find out that some things aren’t as old as they initially appear, the Hasselback potato being a case in point. The majority of sources seem to suggest that Hasselback potatoes were invented at the Hasselbacken hotel and restaurant, Stockholm, Sweden in the 1700s and have long been a traditional Swedish dish. However the truth indicates that though the Hasselback potato recipe was invented at the Hasselbacken restaurant, it wasn’t until the 1950s that they were developed and are still a popular item on their menu today. Like most food history there is still even a dispute to who actually created this artful potato. The majority say that Hasselbackspotatis were created by Leif Elisson in 1953, who was a student chef at the restaurant, though the restaurant school principal invented them in 1955. Maybe someone can shed some more light on the real history of this simple, but delicious potato dish.

Hasselback Potatoes

Hasselback Potatoes

These wonderful potatoes are like a cross between baked potatoes and roasted potatoes. Slightly crispy on the outside, while still soft and creamy on the inside. The recipe itself, if you can call it that isn’t complicated at all, but what puts a lot of people off making them is trying to make the accordion or fan cut accurately. There is a kitchen secret that once you know about it, then the process of making the cuts for the Hasselback potato becomes a breeze.

The secret to making Hasselback potatoes is to use a large wooden spoon. Place the potato onto the spoon and cut thin slices across the potato and the edges of the wooden spoon will stop the knife from cutting all the way through the potato. Simple! No more trying to delicately cut the potato by eye or any fancy gadgets, though I did notice that a Danish company (The Swedes won’t be pleased about that) has tried to capitalise on the perceived difficulty in making them by creating a special Hasselback potato cutting board.

The Secret to making Hasselback potatoes

The Secret to making Hasselback potatoes

Hasselback Potatoes Recipe

Total time: 1 hour 10 min
Servings: 2 medium potatoes per person

Ingredients

  • 2 medium sized potatoes per person
  • 4 tbsp of butter, olive oil or duck fat
  • Coarse Salt

Method

  1. Pre heat the oven to 220C (425F)
  2. First prepare the potatoes. If you wish to leave the skins on, then give them a wash, otherwise peel them.
    Cut slices into the potato, roughly 3-4mm (1/8 inch) using a wooden spoon as a cutting board (see picture above)
  3. Place the potatoes onto a baking tray. Brush with the butter and sprinkle with salt.
  4. Put the baking tray into the oven for 60 mins, re basting with the butter from the tray after about 30 mins, making sure that it gets into the openings of the potato
  5. Serve
Hasselback Potato

Hasselback Potato

If you want to be more adventurous, you could sprinkle some parmesan cheese over the potatoes for the last 20 mins of cooking, or treat them more like a baked potato and load them up with things like bacon, cream cheese, chives, or even slivered almonds. Another alternative I’ve seen, but yet to try is making a gratin like a Dauphinoise, buy using Hasselback potatoes instead of horizontal potato slices.


Tartiflette – The not so traditional Alpine dish

For those of you that have been skiing in the French Alps won’t have failed to notice the popular dish of the region that appears on nearly every menu in the restaurants, Tartiflette. The dish consisting of potatoes, cheese, lardons and onions, and is like a big hug of warming, deliciousness that conveys an image of traditional alpine food such as raclette and fondue going back centuries. However it’s not until you start looking into the history of the dish that you find out that instead of being an indigenous dish of the Savoie region of France, the tartiflette recipe was developed in the 1980s by the Le Syndicat Interprofessionnel du Reblochon to help boost the sagging sales of Reblochon cheese.

Tartiflette

Tartiflette

The name Tartiflette derives from the Savoie word for potatoes, tartifles, though the real origin of of the dish is the more traditional Savoyarde dish Péla, which consists of only Reblochon, potatoes and onions without the wine, cream and lardons. Since the dish doesn’t really have such a long history to become a traditional classic set in stone, there isn’t really a definitive way of cooking it, though the best focus on ways to increase the flavour and harmony of the dish. The real star of the dish is the Reblochon cheese, which there isn’t really an alternative for, but if you are unable to get a hold of it, then a brie combined with tasty mountain cheese such as Gruyère could be used instead.

An Abondance Cow - One of Haute-Savoie breeds who's milk is used for Reblochon Cheese

An Abondance Cow – One of Haute-Savoie breeds who’s milk is used for Reblochon Cheese


Tartiflette Recipe – The not so traditional Alpine dish

Total time: 45 mins
Servings: 4

Ingredients

  • 450g (1lb) of Reblochon cheese
  • 1kg (2.2lbs) waxy par-boiled potatoes with the skins left on
  • 1 thinly sliced medium onion
  • 4 tbsp of butter
  • 200g (7oz) lardons or chopped bacon
  • 150ml (5oz) dry white wine
  • 150ml (5oz) heavy cream
  • 1 clove of garlic
  • Salt and freshly ground black pepper

Method

  1. Pre heat the oven to 190C (375F)
  2. First par-boil the potatoes in their skins until they just begin to soften. This will help ensure that they are fully cooked when serving.
  3. Chop the potatoes into smallish cubes and in 2tbsp of butter gently sauté them until they are slightly coloured. Set aside.
  4. In 2tbsp of butter gently sauté the onions and lardons until the onions just start to brown. Pour in the wine and allow it to simmer and reduce to nothing. Take off the heat and add the cream, some salt and pepper to taste and stir to combine.

    Onions and Lardons

    Onions and Lardons

  5. I don’t think the dish needs garlic added to it since the Reblochon cheese has enough flavour itself, so instead rub a cut glove of garlic all over the inside of an oven-proof dish.
  6. Cover the base of the dish with half the potatoes and then spoon over half of the onion mixture.
  7. Cut the Reblochon in half horizontally and place it on top of the onions. If your dish is larger than the size of the cheese, you may want to break it up a bit to help with even melting throughout the dish.
  8. Repeat with the rest of potatoes, then the onion mixture and finally top with the other half of the Reblochon with the rind facing upwards.
  9. Cook in the oven for 15 to 20 minutes until the cheese is golden and bubbling.
  10. Tartiflette is best eaten hot with a crisp glass of dry white wine or a Red Gamay from the Savoie and a simple green salad. Though like most cheese dishes making it a day in advance will help increase the flavours even more.

Caramel Croissant Bread and Butter Pudding

Technically this is a bread and butter pudding, i.e. that croissants are bread made from butter, but it far more decadent than any normal bread and butter pudding. Traditionally a bread and butter pudding is a thrifty way to stretch ingredients such as stale bread and still come up with a delicious dish. Its origins can be traced back to a dish called ‘White Pot’ which has sometimes has used rice instead of bread and marrow instead of butter and the first recorded mention of it was in a recipe by John Nott from 1723.

This recipe for Bread and Butter Pudding uses stale croissants, if such things exist in your house. Its a big temptation to have them lying around in mine. Instead of a simple custard for the filling, a caramel is made as the base for the custard, which ends up with a very indulgent pudding.

Croissants

Croissants

Ingredients

  • 6 stale croissants
  • 10oz (300g) sugar
  • 6 tbsp (100ml) of water
  • 8oz (250ml) of heavy cream
  • 8oz (250ml) of milk
  • 6 tbsp (100ml) of Scotch or bourbon
  • 6 eggs, lightly mixed eggs


Method

  1. First pre-heat your oven to 180C (360F)
  2. Tear the croissants roughly into pieces and put them in a oven proof dish.

    Stale torn croissants

    Stale torn croissants

  3. Mix together the eggs, milk and cream and set aside.
  4. Pour the sugar and water into a pan over medium to high heat. Gently swirl to dissolve the sugar, but do not stir.
  5. Allow the sugar / water mixture to bubble away until it caramelizes to a deep golden colour. Do not be tempted to stir. It will take about 4 or 5 minutes to caramelize.

    Melting the sugar to make caramel

    Melting the sugar to make caramel

  6. Turn the heat to low and add the Scotch or bourbon if you prefer while whisking at the same time. The caramel my turn stiff and solid at this stage, but keep whisking and it will dissolve again.
  7. Remove the pan from the heat and pour the egg mixture, while continuing to whisk.

    Caramel custard

    Caramel custard

  8. Pour the caramel custard over the croissants and allow to soak for a few minutes.
  9. Bake for about 20 mins and serve on its own or with cream.
Croissant bread and butter pudding

Croissant bread and butter pudding


An authentic St. Patrick’s day meal – Shepherd’s Pie

Irish Shepherd's Pie

Irish Shepherd’s Pie

Traditionally, the Irish did not eat beef.  You know that around March 17, the grocery stores pull out their haul of plastic coated, pre-spiced, corned beef and pair it next to a hug bin of cabbages, at dirt cheap prices.  Add that to a lovely Guinness display & you have an American marketing dream!

Truthfully, the Irish people could not afford beef.  Cow were used to work the fields and only slaughtered when they were too old to do so.  They were considered a wealthy man’s meal and also considered sacred due to legends passed down for hundreds of years of three sacred cows.  One of these was named Bo-Fin and was destined to fill Ireland with the greatest cattle ever seen.

Lamb was more likely a regular staple on an Irish table, along with potatoes and root vegetables in a hearty stew or pie.  When St. Patricks Day comes around, my Irish-Scot family prefer to celebrate with a tasty Shepherd’s Pie & an imported Irish beer!

Shepherds Pie

Filling:

  • 1.5 lbs ground lamb
  • 1 white onion, diced
  • 2 cloves garlic, minced
  • 2 tbsp oil
  • 1tsp salt
  • 1 tsp pepper
  • 2 tbsp flour
  • 2 tbsp tomato paste
  • 1 cup beef or chicken broth
  • 1 tsp Worcester Sauce
  • 1 tbsp Rosemary, finely chopped
  • 1 tbsp thyme, finely chopped
  • 1.5 cups frozen peas & carrots mix, defrosted

Topping:

  • 1.5 lbs peeled & cubed russet potatoes
  • 1/2 -cup milk (or cream!)
  • 4 tbsp butter softened
  • 1 egg yolk
  • salt & pepper

Boil the cubed potatoes for approximately 15 minutes until cooked then drain them.  Warm the milk, add the butter  & add to the potatoes and mash thoroughly. Stir in the yolk and add salt & pepper to taste then put aside.

Heat oil in a pan and brown onion.  Add garlic and cook until translucent.  Add ground lamb and cook thoroughly.  Add salt and pepper and then sprinkle flour over meat and stir thoroughly before adding tomato paste, broth, herbs and Worcester.  Bring all of it to a boil then reduce to low and let simmer 10 minutes until sauce thickens.  Add peas & carrots mix.

Pour meat mixture into 11×7 cooking dish or casserole. Spoon mashed potatoes on top, making sure to completely cover the entire top of the meat mixture to the sides, creating a seal, and smooth with a spatula or your hands.

Bake at 400, on a cookie sheet, for 20 minutes or until top of potatoes begin to slightly brown. Let cool 15 minutes before serving with a good Irish ale or stout!

Sláinte & Lá Fhéile Pádraig Sona Daoibh!