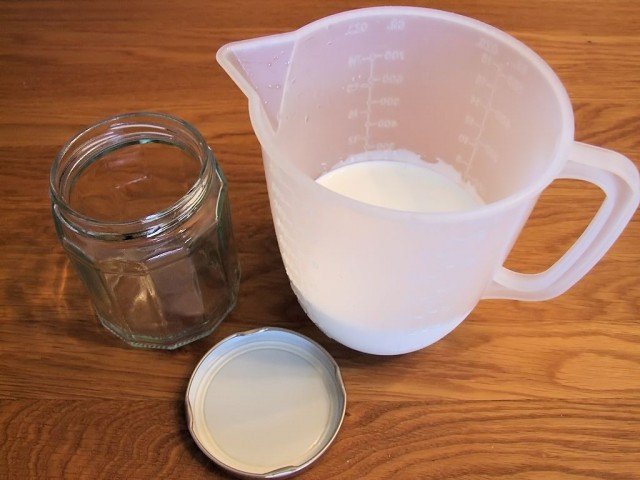
I was going through the fridge and noticed that we had part of a carton of heavy cream that wasn’t going to be used any-time soon, and rather than just throwing it out, I wondered if there was something I could do with it other than using it for desserts. In the back of my mind I remembered making butter with my granny (grandmother) as a child and wondered if I could do it with a jar. I seemed to remember it took a long time and a lot of effort as a child, but how difficulty could it be as an adult.
Scientifically butter is a emulsion of water suspended in oil that is formed by the inversion of the cream, which is an emulsion of oil suspended in water, with the milk proteins acting as the emulsifier. In layman’s terms, if you take cream and shake the hell out of it you end up with butter.
I found a jar in the cupboard, which was just big enough to hold the cream, sealed the lid and started shaking vigorously. Very quickly I realised my first mistake. You need headroom in the jar, because you introduce air into the cream and it increases in size. I poured off half of the cream into a jug for a second batch and continued shaking the jar. After about 10 minutes of shaking and a full cardio workout, suddenly the sound in the jar changed from ‘sloshing’ to ‘slopping’ and butter solids magically appeared in the jar. I strained the solids over a bowl, and there sitting in the sieve was homemade butter. I used a spatula to gently squeeze out the remaining buttermilk to help stop the butter from going bad, added some salt and spread it on toast. Wow! It is hard to describe how good it was, except that it is better than any butter you can buy.
How to make homemade butter in a jar
Ingredients
- Cream (any type will do)
- Salt
Method
- Fill a jar or other seal-able container half full of cream.

- Shake vigorously for about 10mins until butter solids start to appear.

- Sieve the butter and gently squeeze out the remaining buttermilk, which you can use for something else. Add a dash of salt to taste. I added about a quarter of a teaspoon of salt, starting with 10 fl oz of cream.

- Simply enjoy spread on bread

Cover and refrigerate the butter. It should keep for a couple of weeks, if you have removed the buttermilk and aren’t tempted to eat it all in one sitting.

4 comments
Skip to comment form
Hi, I…um…have to say how impressed I am. I make homemade butter all the time and love mixing different flavors into it for compound butter…but shake it in a jar? by hand? Yea, not so much…lol…kudos to you! You must have great muscles! I guess I’m a cheater because I put the heavy cream into my food processor and press a button : ) Just saw you on twitter…thought I’d swing by and peek around and say hi…so glad I did!
Author
Thanks for stopping by. I thought of using a jar, because I remembered my grandmother used a jar, with a handle crank contraption for ‘paddling’ the butter and thought that just shaking the jar would work as well.
This looks so fun! What kind of cream did you use?
Author
I used heavy whipping cream, because that was what I had left over in the refrigerator, but technically any cream or whole milk will work just as well.